http://screencast-o-matic.com/watch/cDlo1UQ0Yu
This was my final lip sync animation, where I utilized a 5 second clip from the movie WARM BODIES. Shaping the lips of the rig to fit the words was difficult, and I could not use the scene for reference on how the actor's lips moved due to the fact he was internally monologue-ing. I should have exaggerated the movement of the lips more as the shapes the mouth make, thus causing the animation and the audio to seem separate at some points.
I wish I had taken more time with small bodily movements such as the shift of hair as well as the shoulders and even the movement of the chest to signify breathing. Ultimately it was my first time doing anything akin to this and it showed, but I enjoyed doing it despite the fact I got tired of the lines after about 6 different runs into the construction of the lip sync.
Different angles of the mouth need to be taken into consideration, such as the extended pucker of the lips when making an "O" sound. Emotion needs to be present on the characters face otherwise the character looks robotic and it alienates the audience.
It's been a fun semester.
The Nost Abysmal Animation Blog
Wednesday, December 14, 2016
Wednesday, November 9, 2016
Quadruped Walk Cycle
Basically.
This was actually SIGNIFICANTLY more difficult than the typical human based walk cycle.
I used a tiger rig and looked at more than one video of a tiger's walk as well as several helpful cycles I looked up that were drawn out, ultimately I ran into several glitches and I have a lot to learn.
Trying to naturalize the movement was excruciating, as I would over extend the body parts and then not exaggerate the movement enough so it looked stiff and robotic, I had to move the shoulders up and down and shift the hips to match the tigers distribution of body weight.
Turn the head a certain way, extend the body, manually move the tail, curl the claws and the paws and lay them back flat.
It was very rigorous and eye opening to how difficult capturing nature really is within a programs code as well as my minds eye.
Tuesday, October 18, 2016
CREATING REAL TIME ANIMATED PREVIEWS IN 3DS MAX
As your scene becomes more complicated you cannot always expect 3ds max to play the animation back at the correct frame rate.
To access this tool you create preview animation, Shift+v can also bring this up.
You are thus able to edit your playback settings for the animation.Your output will allow you to alter your compressor.
Thus allowing you to see the animation playback at the correct speed.
\
You can playback the preview at anytime you wish and also you can see if your animation is fully correct.
CREATING REALISTIC CROWD SIMULATIONS WITH POPULATE
Using this you can generate a crowd of background characters doing a multitude of tasks so that you may fill a scene.
The populate option is located at the top of 3ds max, hitting the drop down key next to it you will be able to access the tools necessary to populate your scene.Create flow will allow you to create a crowd of walking pedestrians.
Left click to create your area path.
The red and blue markers represent female and male characters within a scene, the lines also representing the pathways they walk along.
Do not be concerned with the linear nature of the pathway as 3ds max will make it so the characters move naturally and not stiffly on track. Choosing simulate will this create your pedestrians.
You can also create an idle area where the characters solely stand about.
You can also have simulated people who sit.
You can also change the resolution of your bystanders.Regenerate will allow you to randomize your flock of humans.
The slider bar making it more or less random, the dice representing random and the red square specifying one pedestrian type and making everyone in the scene the same person.
TRANSFERRING ANIMATION WITH 3DS MAX'S SAVE AND LOAD FEATURE
You can utilize this for moving a certain object all the way to moving an entire control rig.
Go to your management of layers and you will find this exciting mess.
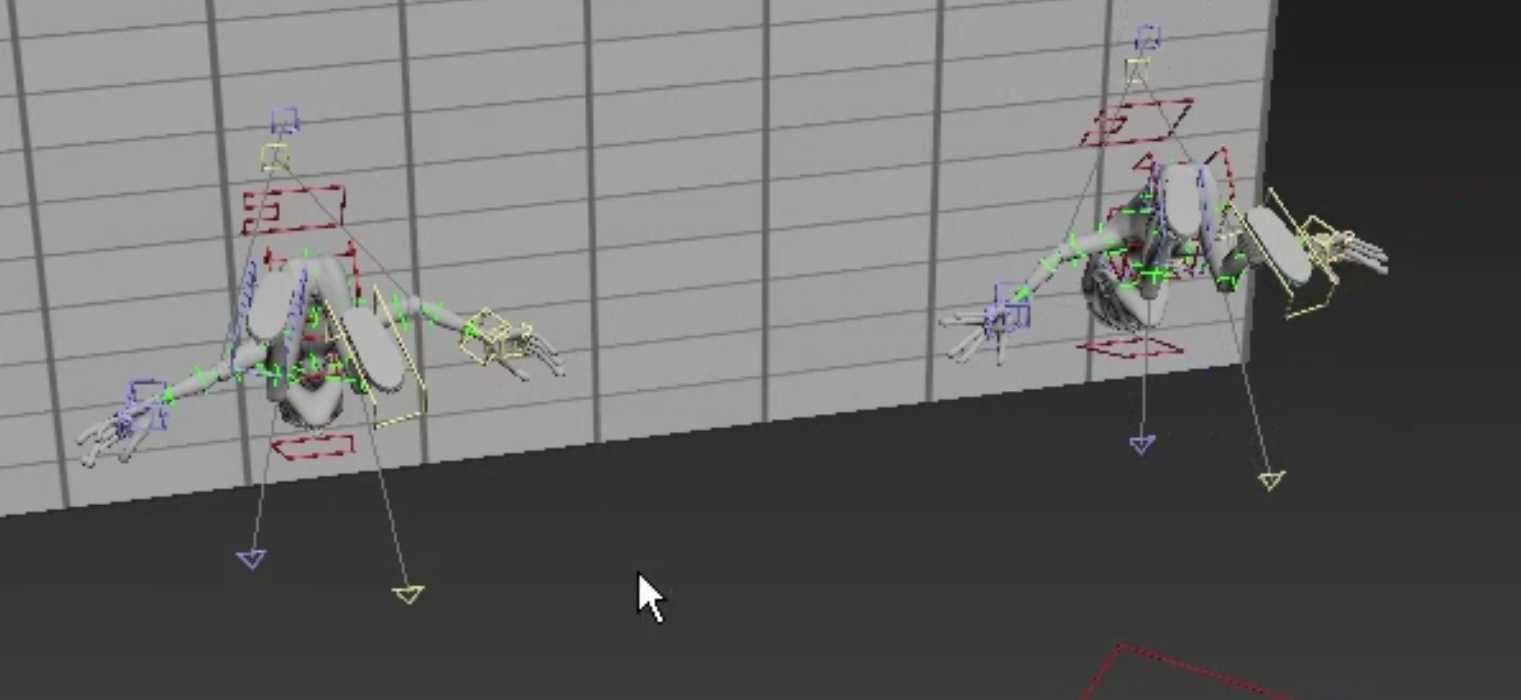
Selecting your controls layer you will then be able to see the controls of your rig. From that point you can move your original rig and enter in a new one.Make sure you add in all it's little bits and pieces so it is not missing any.
And thus you will merge your new heinous spawn with the old one.
AIN'T THAT THE MOST INTERESTIN' USE OF TECHNOLOGY?
Selecting the animation of the new rig you can now decide what you are to do with the golem.
There you will have the choice of the absolute and the relative.
Relative will look at any existing animation and proceed to merge it with the new file. whereas absolute will be automatically replaced with whatever is within the file you are opening and hoping to apply to the new rig/animation.
You also have the choice of Replace and Insert At.
You can click insert at to determine yourself where you would like the new animation file to begin at, and replace to use the timing saved in the new file and place it over the old one.
Choose to apply the file and you may end up with this warning.
This lets us know that we need to transfer motion from one rig to the other on the new file, and we can. You can click yes, exit out of the information and open back up the tab from before containing the new file to find the ability to edit your mapping.
As well as get mapping beside it. Choosing edit mapping will open this box:
There you can begin to match the controls of your animations, you can do this manually.
Like so,
Clicking the arrow and this linking them.
But you also have a method where this matching and linking is automatically done for you by highlighting the sides in question.
Matching them by Exact Name, Closest Name or Hierarchy.
If Exact Name doesn't work you can utilized the more general link of closest name.
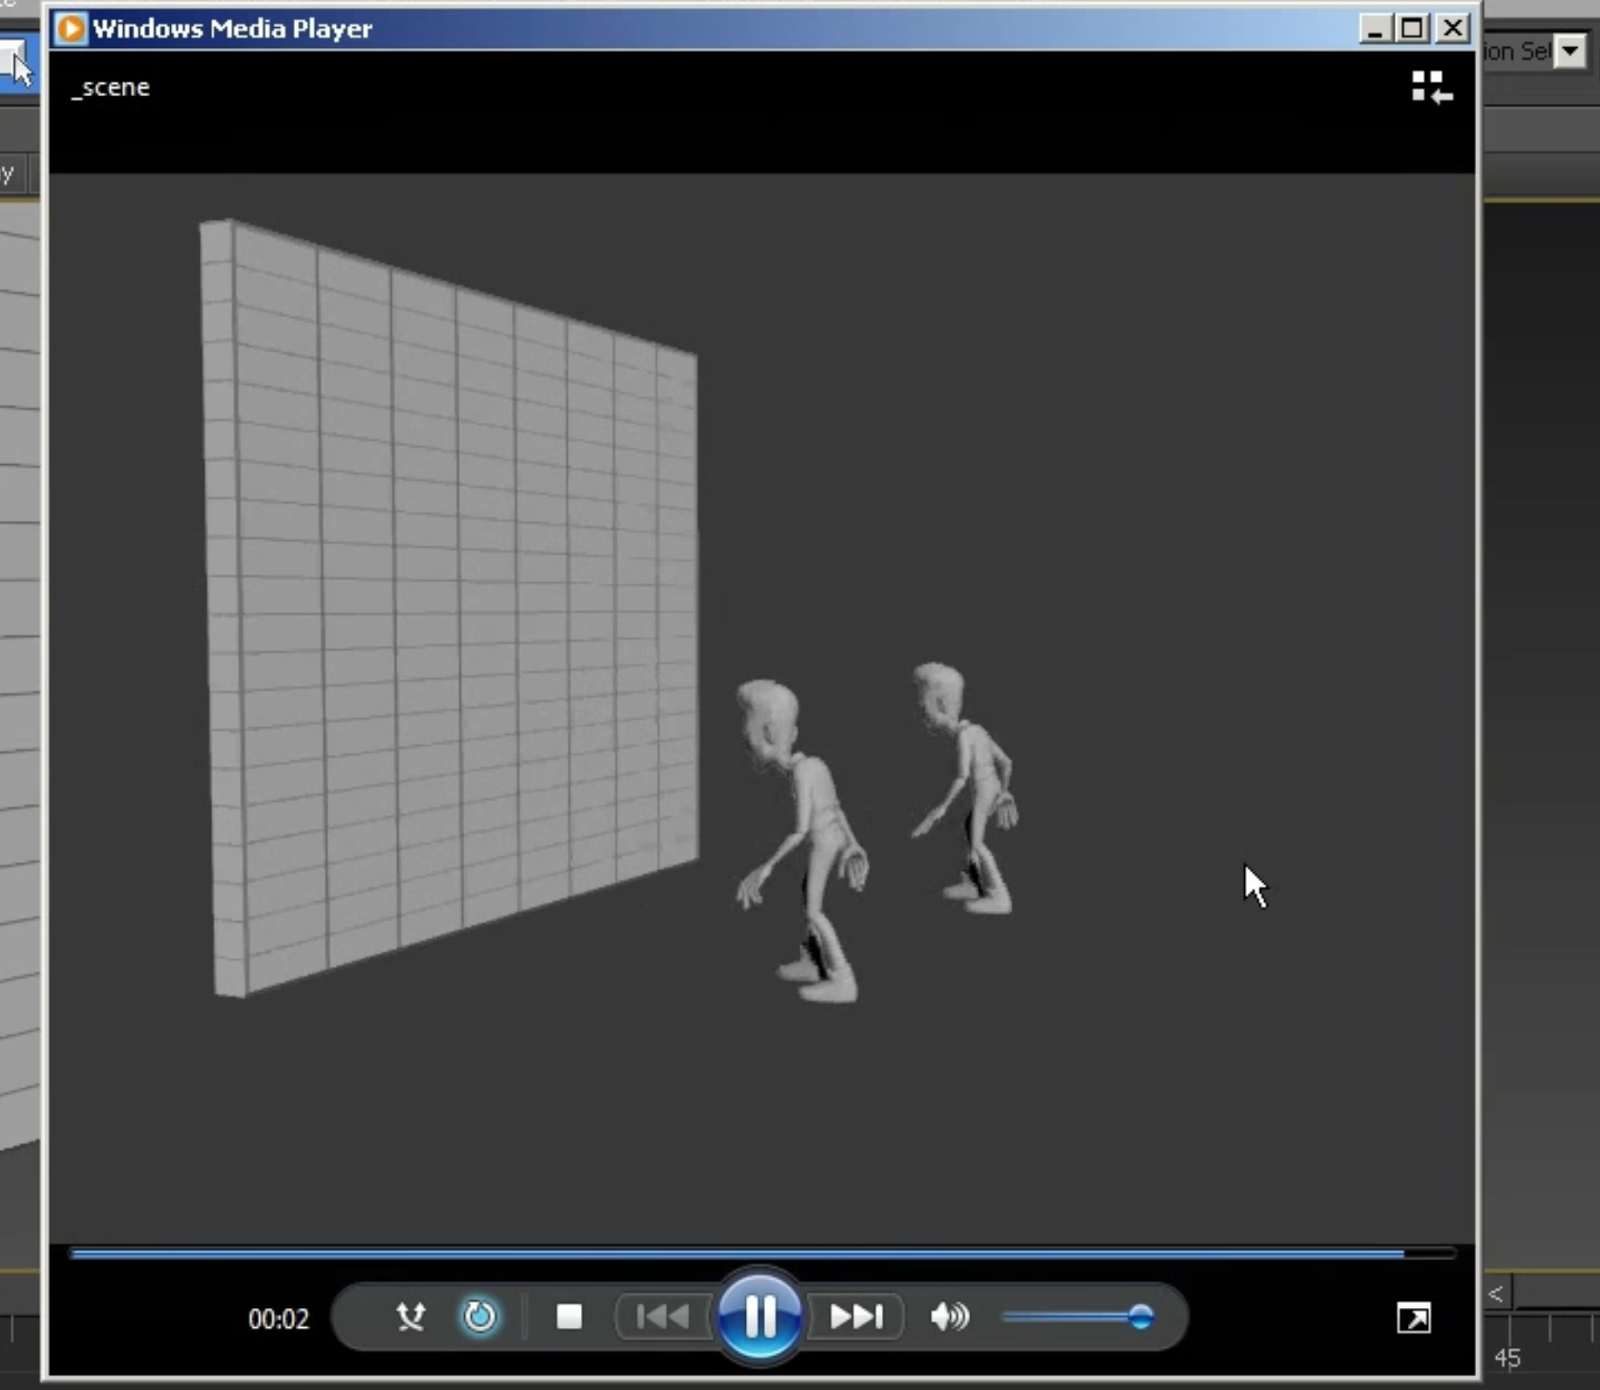
Saving this and allowing it to apply to the new rig you will see that the new rig will duplicate the animation of the old one.
This can be used for background characters milling about in an animation among other things and is able to save an animator a good amount of time and effort.
VIEWING AND EDITING AN OBJECT'S TRAJECTORY
When the object of an animation is collapsed the spline line of movement is no longer necessary to be seen.
First you need to make the objects trajectory visible again.The larger square dots show the position keys while the smaller white dots show the positioning.
Going to the sub-object level you may gain control over a certain key, and then you can add or delete keys on your trajectory line.
This can allow you to modify your movement.
Subscribe to:
Posts (Atom)