Monday, October 17, 2016

AUTOMATING MOVEMENT WITH EXPRESSIONS

An expression is a mathematical attribute applied to a movement that changes its behavior.
Making sure that that you are set to gimbal mode so that you may see the orientation of the selected object. Then go to the assign controller roll out searching for the x rotation. Thus allow you to assign a float controller expression. Here you are then able to create a variable, assign a scalar to it and then add it to the expression.
From here you have some variables you are able to toy with.
From here you are able to have lets say the ship rock back and forth via sin. Sin(S), then proceed to click evaluate and this causing your rig of the ship to gently rock.
If the movement is too subtle then you are able to multiply the seconds and then cause a more dramatic shift. The seconds create the speed of the x-axis.

You may also divide this thus causing the movement to also change in magnitude, making the movement a bit more subtle.
COMPLETING OUR CYCLE

When you add a rotation to an animation in a cycle sometimes there is a pause, and the buffer is not necessary. Here is how you clean it up.
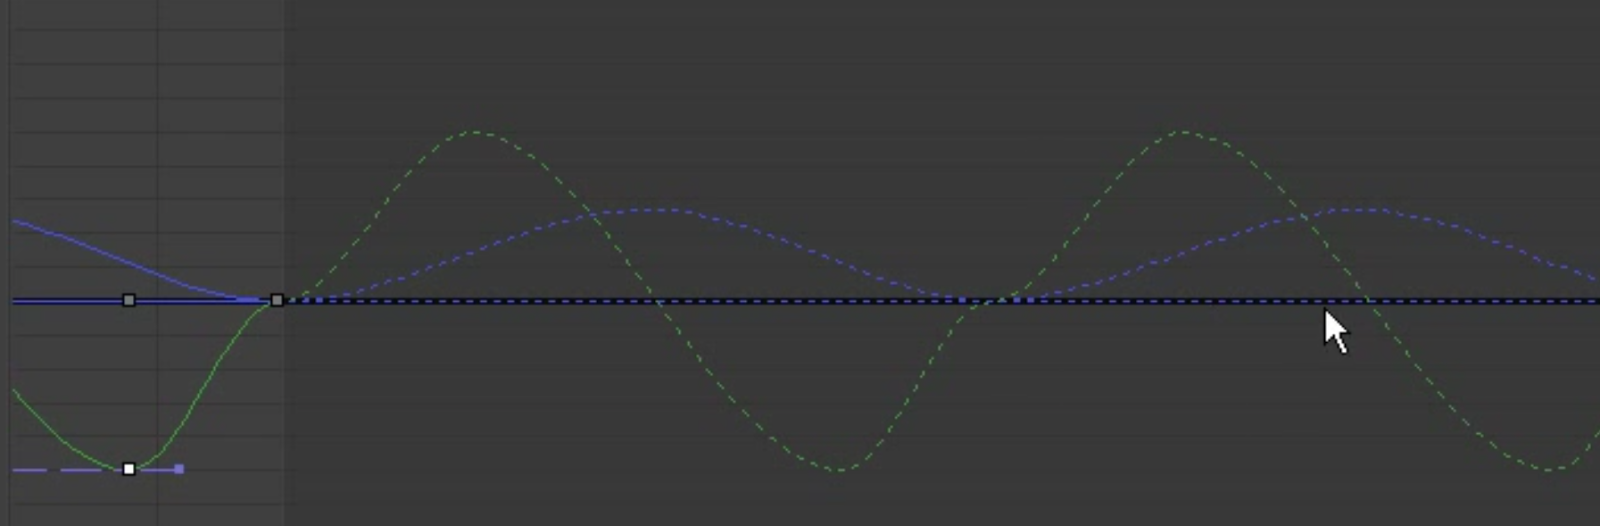
Open your curve editor, if you have auto select and the like on animated 3ds max will automatically high light your key frames which allows for work to be easier.
Then go to edit controller and select out of range types.

There you will choose cycle, instead of constant which does not make way for a continuous animation.
Thus allowing the animation to continue onward infinitely.
Finding the track that is the issue in curve editor here you may now correct it and thus make the animation seamless. And you may adjust the tangents manually here to make it perfect.
ANIMATING A SEAMLESS CYCLE IN 3DS MAX

This allows for the creation of animation loops that save time. Ensure when you work on cycles that you have a set mid point as it allows the animation to have a definitive beginning middle and end thus having a smooth transition in the animation. Remember to factor in the zero frame so that you have an accurate mid point.
When working on a cycle the first and last frames of an animation must be identical.
Add in the movements you which, this includes a transitional movement at your mid point and thus you have created a cycle.
Set tEDITING KEYS IN CURVE EDITOR AND F CURVE INTERPOLATION TYPES

View the tangent types,

Enter the curve editor, highlight the key frames you want to move click and then proceed to drag to the necessary area. Hold down CTRL to move only on 1 plane and you may move up and down in this, you have locked the key in time so they may only move in VALUE. Left and right may change the time so that you also do not change the keys value.
Hold down shift you are able to drag and jump a key frame to a different place.
Your tangent type here is auto and that gives you an automatic smooth animation. Auto may correct you if you go too far from what you have set as well. But sometimes you may want to overshoot.
Set to spline allows you to make a custom tangent.
This means the animation will move quickly at first and the slowly at the end.
Set to slow will do the opposite of the tangent that is above (set to fast).
In these options you do not have access to your tension handles as you do in auto.
Step allows you to focus on the timing and poses of your animation without you having to worry about the interpolation.
Linear will allow you to maintain a constant speed.
This is set to smooth, which creates overshoots.
But remember to  go to auto and spline to access your tangents for more control.


THE CURVE EDITOR
You would utilize the curve editor to polish your animations. You may use the animation's function curve to change the timing.
You may also access the curve editor from the graph editor menu at the top of 3ds max.
Ensure that on the Auto Expand and Auto Select that animated is checked. This will also select any custom properties you have made. The curve that is green that you see here is the function curve which is how your rig moves about from key frame to key frame. You may alter the movement of the rig from here.

EDITING KEYS ON THE TRACK BAR

If you wanted to change the keys to adjust the timing you would do so by left clicking and dragging over them and then the left mouse button will allow you to move the selected keys.
You may pull that selected key wherever you wish from that point forward.  The further away you move the frames the slower the animation will be versus the closer they are the faster they will be. You can also highlight the keys similarly and then press delete to remove the keys.
Right click on the drop bar and you will be able to find your selection range.
And now you may alter the key frames en mass. And you may scale the keys by grabbing either handle on either side. Go to the left with this you may speed up that section of the animation and when you go right you may slow it down.
You may right click on a key and access the information of it, and if you go to the delete key you have access to the keys on that specific frame.
Now you may use the same technique above and see the specific information of a key. And you then have the ability to change the value and tension types.


ADDING MOVING HOLDS IN 3DS MAX

Moving holds can be pretty vital to an animation as it shows what a character is doing, and the same thing goes for any general object you may be working on. Without moving holds the character will never halt in their movement causing the audience to be unable to see them.
A moving hold is basically a pause in an animation where there is still some movement, nothing actually halts to a dead stop so one cannot merely have no movement in a frame.
You can press alt and left or right click accordingly to alter the end time and start time of an animation.
Holding shift and dragging from one key frame to another opens the create key box, and you may choose from that point forward what transform keys you may create. And you can alter this to your hearts content, but basically this allows for the development of slower movement from one key frame to another thus creating a moving hold.