Tuesday, October 18, 2016

GHOSTING ANIMATED OBJECTS

Ghosting is  a tool utilized for checking the timing and spacing of an animation.
Going into the views drop down tap you will be able to see the ghosting option,  here.
This allows you to see the rig's movement in the past frames as well as the current one, this can help the animator monitor the speed of the object moving within an animation. When the ghosted shapes are further away it signifies the object is moving quickly versus when they are bunched up the object is moving slowly.
You can also change how many ghosted frames you see for maximum effect in the preference settings.
You can also focus on one object, including specific parts of a rig.
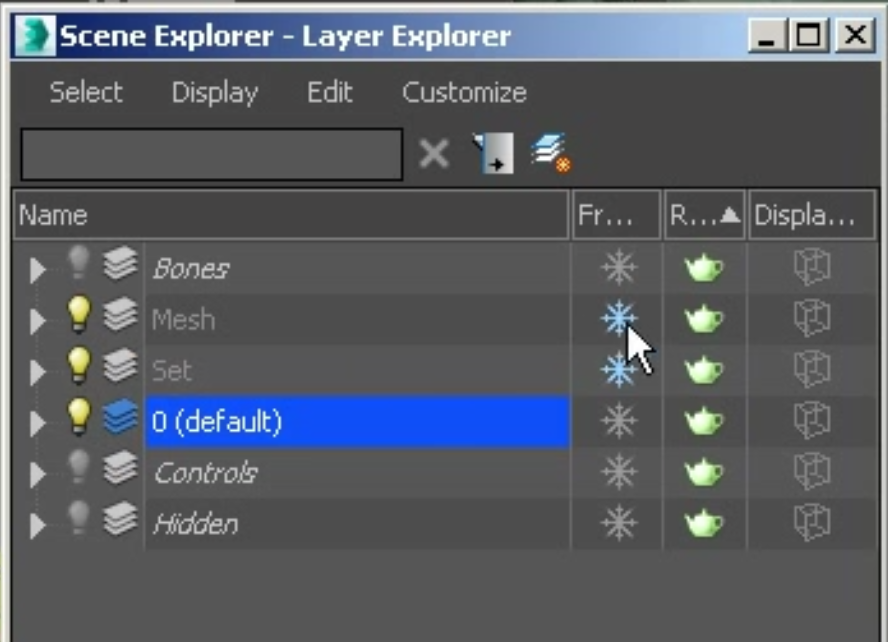
Just go to scene explorer and unfreeze the mesh to your object, proceed then to make your object selection. Now you may see the ghosted path of movement.

When you are finished utilizing this tool you can go to the ghosting tab and deselect it. Thus making it disappear.

Monday, October 17, 2016

Baking Animation in 3ds Max
Baking is the process of converting movement into key frame animation, as you need full control over a dynamic object. The object may be driven by expression and you want to convert this into key frame animation.
The variable of drive was added to the expression in this case. With the object selected move to the motion panel and then proceed to select trajectories.
This then shows the path of the animation.
Here you may able to pick the range and transform you would like to bake.
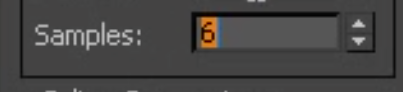
Sample rate will determine how many key frames are created in that range.
So you may need to change it. This creates a multitude of key frames within your curve editor.
OPTIMIZING ANIMATION DATA
In the curve editor you will simplify the wild curves within the multitudes of these key frames.
This allows for all the static keys to be removed and thus make the animation smoother.
GIMBLE LOCK AND EULER FILTER
Gimble lock is when you lose control in one of your rotation axis's.
Go to tools, manage layers and it brings up your controls. From that point you can select the part with the problem, go to the curve editor and see where the issue is an thus fix it.
Go and find the Euler filter.
And press okay allowing for the issue within the rotation of the wrist in this case to be corrected automatically.
Also be sure to delete any extra keys.
ANIMATING OBJECTS ALONG A PATH
The object needs to follow a spline, and a natural arc must be created in the spline for the object to follow. To create the path that the object needs to follow go to the line tool.
Create, and then move on to the shape of the line.
Go to the modify panel and select the points

Right click and proceed to choose Bezier for the purpose of curving the line that you have created.
And you may rotate manually if it is imperfect automatically.
Go to animation tab and go to constraints and then specifically path constraint.
Proceed to drag the object specified to your path.
Turn on follow and the object will follow the path.
Enable banking
And you may use spline on the curves so that you can alter the tangents making it a perfect curvature and line path.
ANIMATING WITH CONSTRAINTS
After selecting the object one may utilize the motion panel
You may alter the weight here in the curve editor.
Go to the path constraint and add keys, setting the key that you have sets properties to zero
From here you will alter the percentage of the tracks of your animation as well. Allowing for a transition of the object to the path line made prior.
To ensure that there is curvature of this movement instead of just straight linear movement you would again select Bezier. Allowing you to adjust the tangents. Making way for a quality transition.






AUTOMATING MOVEMENT WITH EXPRESSIONS

An expression is a mathematical attribute applied to a movement that changes its behavior.
Making sure that that you are set to gimbal mode so that you may see the orientation of the selected object. Then go to the assign controller roll out searching for the x rotation. Thus allow you to assign a float controller expression. Here you are then able to create a variable, assign a scalar to it and then add it to the expression.
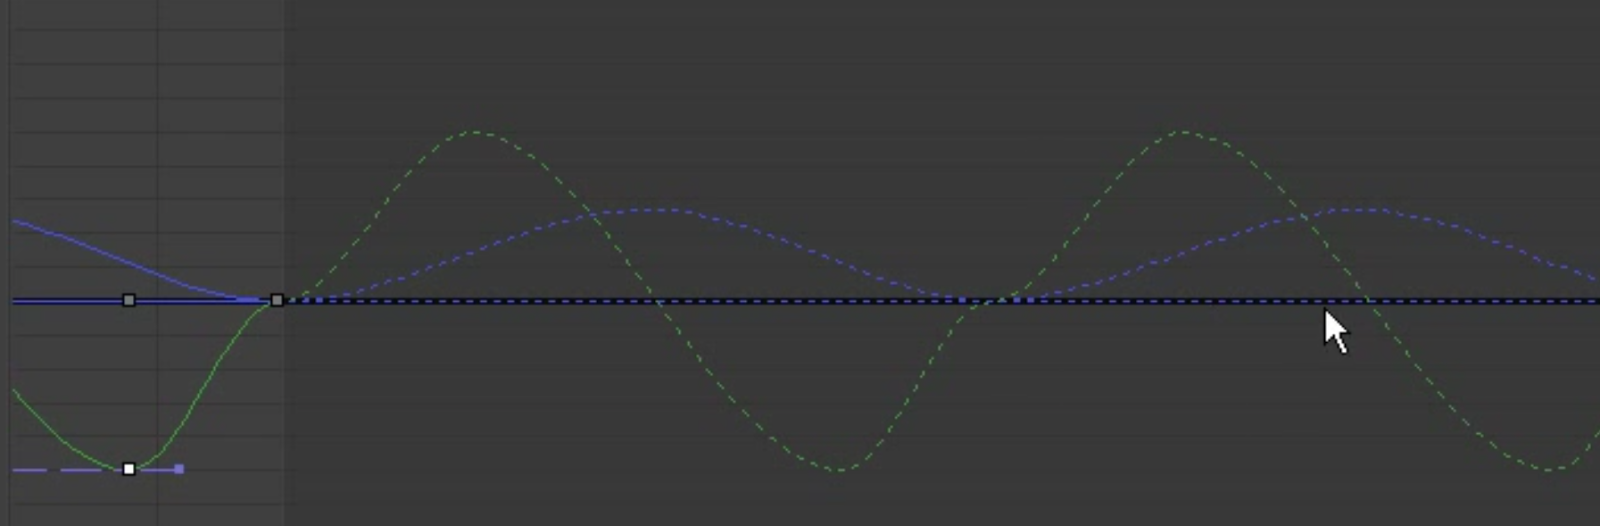
From here you have some variables you are able to toy with.
From here you are able to have lets say the ship rock back and forth via sin. Sin(S), then proceed to click evaluate and this causing your rig of the ship to gently rock.
If the movement is too subtle then you are able to multiply the seconds and then cause a more dramatic shift. The seconds create the speed of the x-axis.

You may also divide this thus causing the movement to also change in magnitude, making the movement a bit more subtle.
COMPLETING OUR CYCLE

When you add a rotation to an animation in a cycle sometimes there is a pause, and the buffer is not necessary. Here is how you clean it up.
Open your curve editor, if you have auto select and the like on animated 3ds max will automatically high light your key frames which allows for work to be easier.
Then go to edit controller and select out of range types.

There you will choose cycle, instead of constant which does not make way for a continuous animation.
Thus allowing the animation to continue onward infinitely.
Finding the track that is the issue in curve editor here you may now correct it and thus make the animation seamless. And you may adjust the tangents manually here to make it perfect.
ANIMATING A SEAMLESS CYCLE IN 3DS MAX

This allows for the creation of animation loops that save time. Ensure when you work on cycles that you have a set mid point as it allows the animation to have a definitive beginning middle and end thus having a smooth transition in the animation. Remember to factor in the zero frame so that you have an accurate mid point.
When working on a cycle the first and last frames of an animation must be identical.
Add in the movements you which, this includes a transitional movement at your mid point and thus you have created a cycle.
Set tEDITING KEYS IN CURVE EDITOR AND F CURVE INTERPOLATION TYPES

View the tangent types,

Enter the curve editor, highlight the key frames you want to move click and then proceed to drag to the necessary area. Hold down CTRL to move only on 1 plane and you may move up and down in this, you have locked the key in time so they may only move in VALUE. Left and right may change the time so that you also do not change the keys value.
Hold down shift you are able to drag and jump a key frame to a different place.
Your tangent type here is auto and that gives you an automatic smooth animation. Auto may correct you if you go too far from what you have set as well. But sometimes you may want to overshoot.
Set to spline allows you to make a custom tangent.
This means the animation will move quickly at first and the slowly at the end.
Set to slow will do the opposite of the tangent that is above (set to fast).
In these options you do not have access to your tension handles as you do in auto.
Step allows you to focus on the timing and poses of your animation without you having to worry about the interpolation.
Linear will allow you to maintain a constant speed.
This is set to smooth, which creates overshoots.
But remember to  go to auto and spline to access your tangents for more control.


THE CURVE EDITOR
You would utilize the curve editor to polish your animations. You may use the animation's function curve to change the timing.
You may also access the curve editor from the graph editor menu at the top of 3ds max.
Ensure that on the Auto Expand and Auto Select that animated is checked. This will also select any custom properties you have made. The curve that is green that you see here is the function curve which is how your rig moves about from key frame to key frame. You may alter the movement of the rig from here.